What Is Ice & Water Shield? (And Where It's Required)
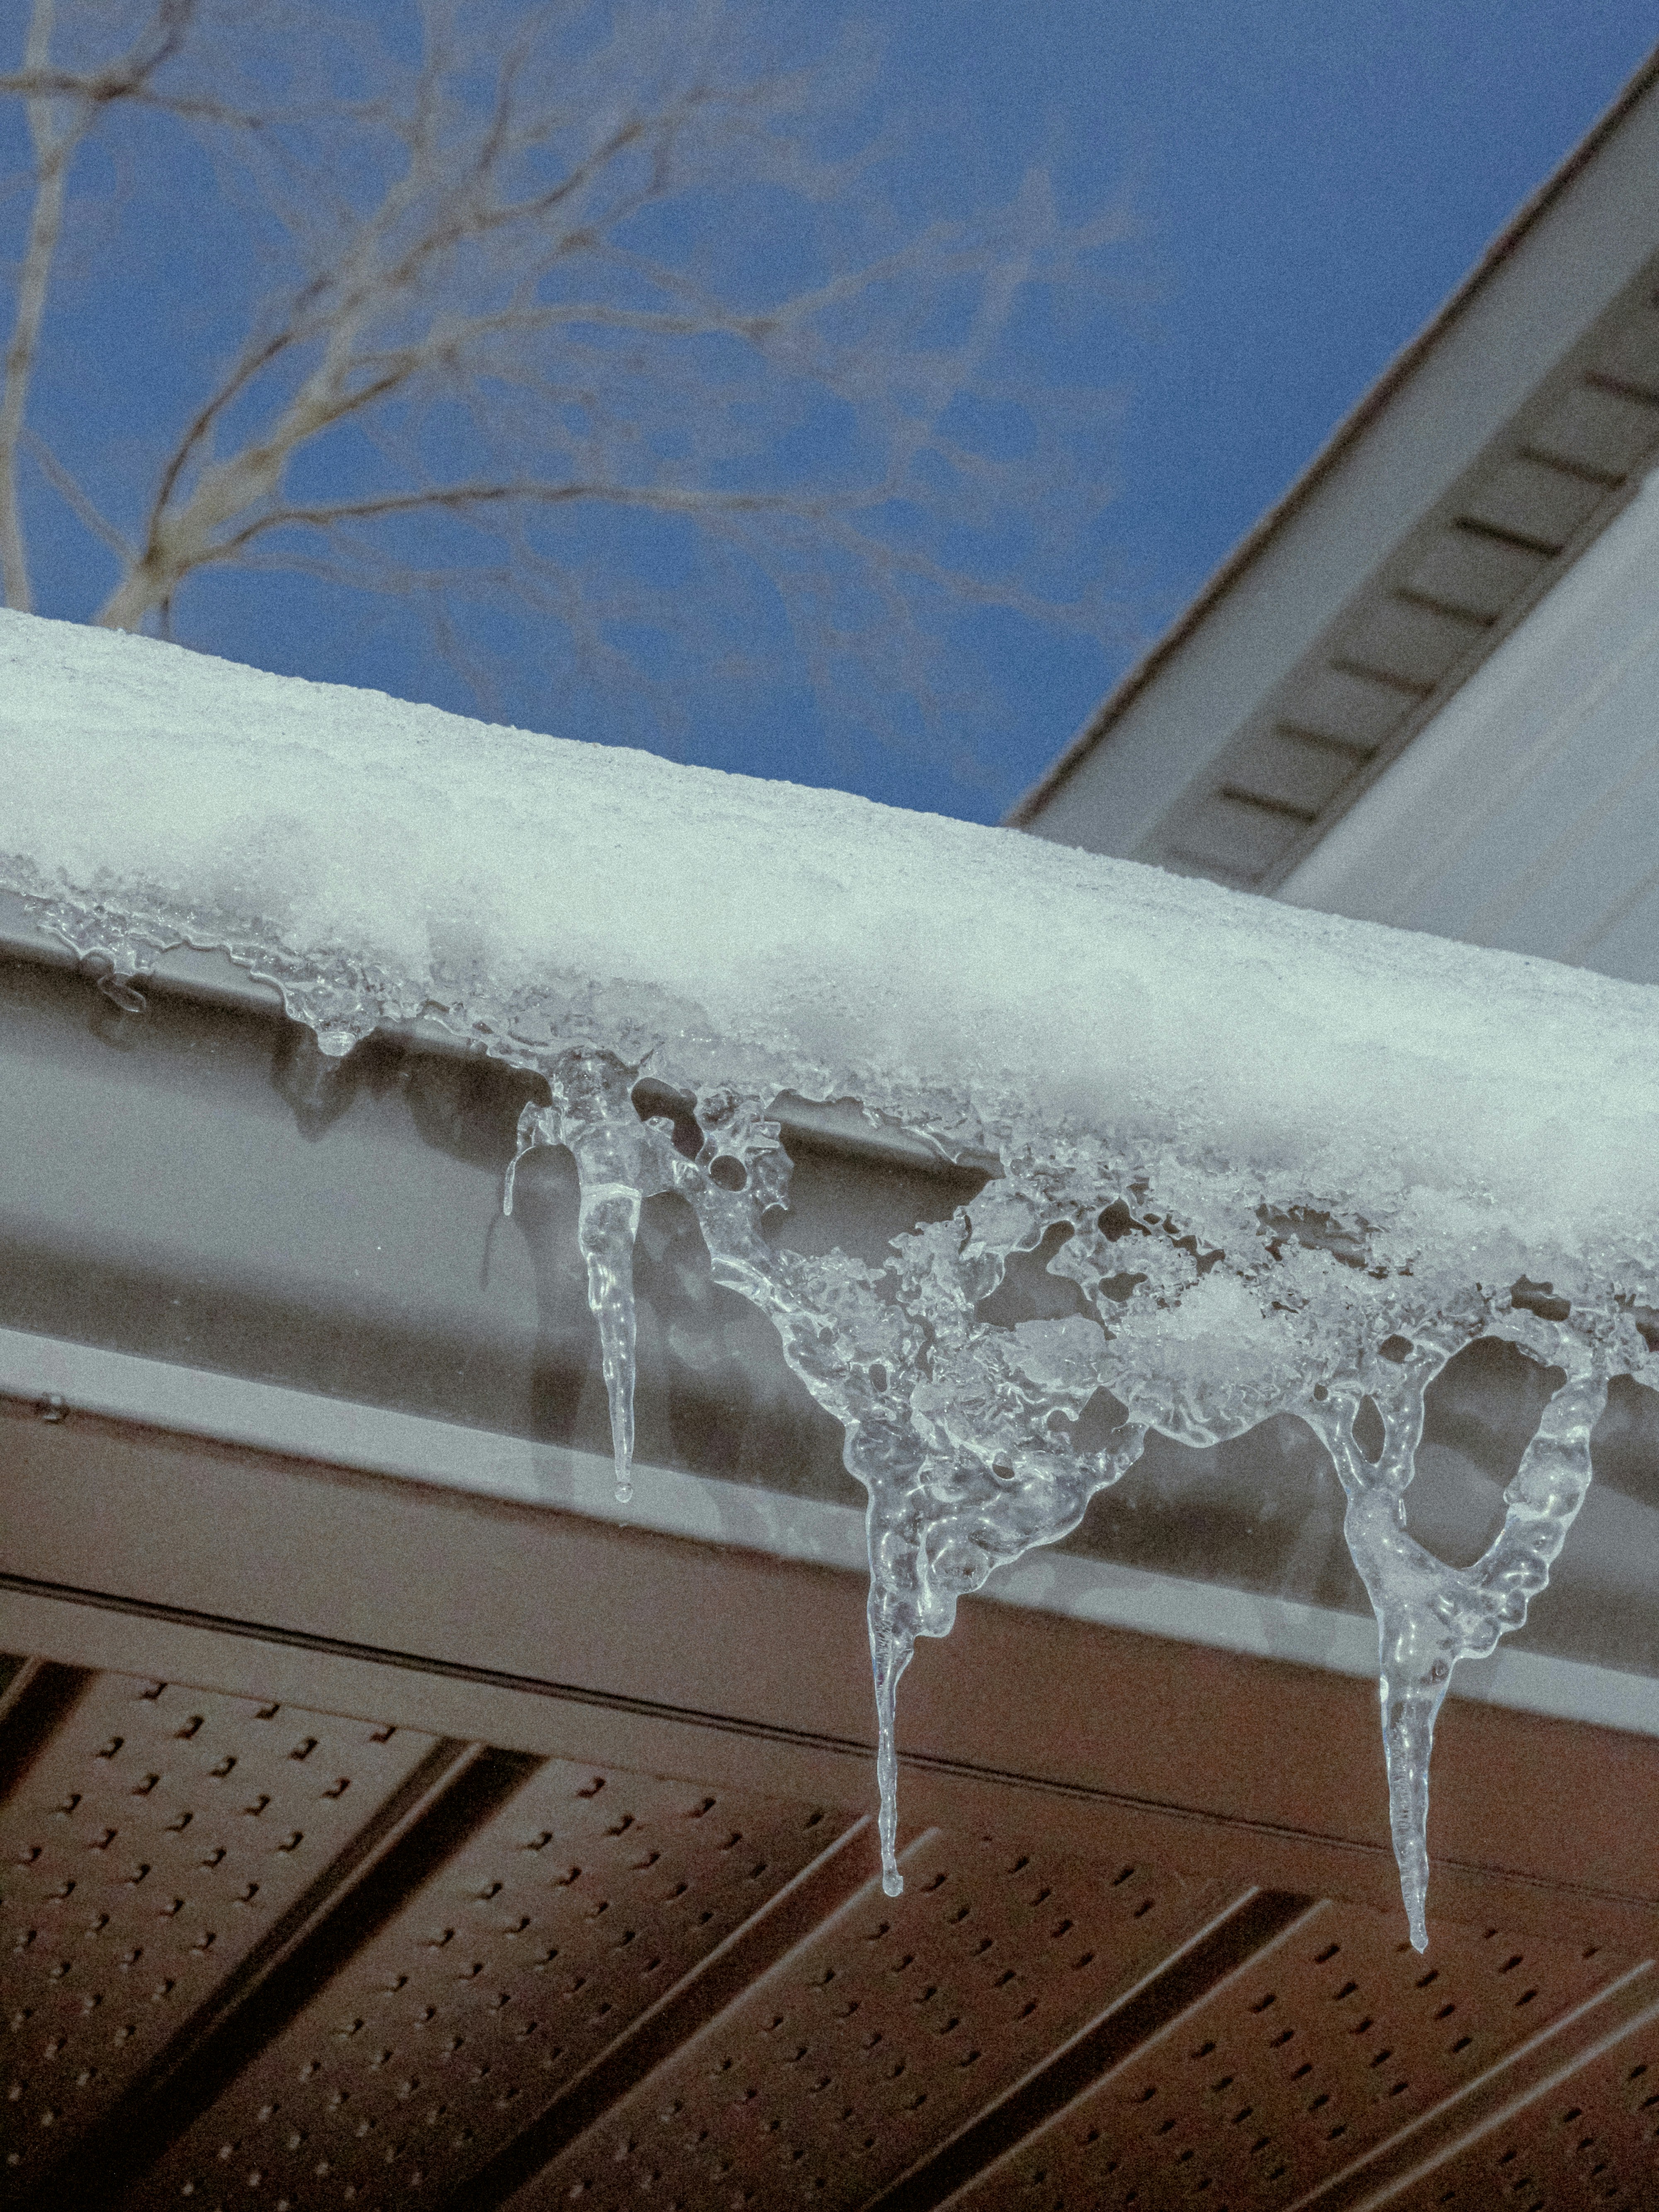
When most homeowners hear "ice and water shield," they assume it has something to do with winter — and that it is irrelevant in Oklahoma. Both assumptions are wrong.
Ice and water shield is one of the most important waterproofing layers in any modern roofing system, and in our market it earns its keep most often during severe thunderstorms with wind-driven rain, not snow events.
This guide explains what ice and water shield is, how it works, where it goes on a typical Tulsa-area roof, what the code requires, and why a contractor who specifies it generously is signaling a fundamentally different approach to long-term durability than one who specifies it minimally.
If you have only encountered the term in passing on a quote, this is the article that explains what you are paying for and why it matters.
For a broader look at how this membrane fits into the rest of the underlayment story, see our companion article on roof underlayment options for Tulsa.
What Ice and Water Shield Actually Is
Ice and water shield is a self-adhering, rubberized waterproofing membrane installed in the most vulnerable areas of a roof, beneath the regular underlayment and shingles. It is made of polymer-modified bitumen — essentially asphalt mixed with rubber compounds — bonded to a polyethylene film or a fiberglass reinforcement. The bottom side is a peel-and-stick adhesive layer that bonds directly to the roof deck.
The defining feature is that it self-seals around nails. When a roofing nail penetrates standard underlayment, it leaves a small hole — typically harmless because the shingle above it sheds water, but a potential leak path if water ever ponds. When a nail penetrates ice and water shield, the rubberized compound flows around the nail shank and forms a permanent seal. Even if the nail later loosens or is removed, the membrane heals itself.
The product was first developed in the 1970s, originally to address ice dam damage in the northern United States. Modern versions are manufactured by Grace Construction Products (now part of GCP Applied Technologies), CertainTeed, GAF, Owens Corning, and others. Standards for self-adhering polymer-modified bitumen sheet materials are published in ASTM D1970.
How Ice and Water Shield Works
The membrane functions on three principles: complete bond to the deck, self-sealing around penetrations, and resistance to negative water pressure.
The complete bond is the foundation. Standard felt or synthetic underlayment is mechanically fastened to the deck — it sits on top but is not bonded to it. Water that gets under standard underlayment can travel sideways for several feet before finding an outlet. Ice and water shield is glued to the deck. Water cannot travel between the membrane and the deck because there is no space between them.
The self-sealing property means that fasteners installed through the membrane — by every shingle above, by every flashing piece — do not create permanent leak paths. The rubber compound flows around each nail and reseals.
Resistance to negative water pressure is the practical advantage over standard underlayment in extreme conditions. When wind drives rain horizontally up under a shingle edge, water can be pushed against the underlayment with significant force. Standard underlayment seams can leak under that pressure; ice and water shield, being continuous and bonded, cannot.
Where Ice and Water Shield Is Required by Code
The International Residential Code (IRC) requires ice and water shield in two specific circumstances:
In climates where the average January temperature is 25°F or lower, the code requires ice and water shield at the eaves extending from the lowest edge of the roof to a point at least 24 inches inside the exterior wall line of the building. This is the classic ice-dam protection requirement, and most of Oklahoma sits just outside that climate zone.
However, the IRC also requires ice and water shield in valleys and around penetrations regardless of climate zone in many jurisdictions and on most architectural shingle warranties. Local code amendments in Tulsa-area municipalities frequently extend the requirement.
And manufacturer warranty terms for premium shingle systems typically require ice and water shield at specified locations as a condition of full warranty coverage.
The full code text is available through the International Code Council, Section R905.1.2.
Where Ice and Water Shield Should Be Installed in Oklahoma
Even though Oklahoma is not a true ice-dam climate, the membrane earns its place in the system on every quality residential roof. The locations where we install it on a typical RainTech project:
Valleys — full length, extending at least 18-24 inches on each side of the valley centerline. Valleys carry the highest water volume on the roof and are common failure points.
Eaves — minimum 24 inches inside the heated wall line (per code where applicable, and as a best practice on every roof). Protects against ice dams in rare winter events and wind-driven rain in summer storms.
Around all penetrations — 18-inch radius minimum around plumbing vents, exhaust caps, chimneys, and skylights. These are the highest-failure flashing details on the roof.
Wall-to-roof transitions — where any vertical wall meets a roof plane, on top of the step flashing or behind the counter flashing
Low-slope sections — any roof plane with a pitch below 4:12 should receive ice and water shield across the entire field, since asphalt shingles cannot achieve full waterproofing on shallow slopes
Skylight perimeters — full membrane wrap of the curb, integrated with the skylight manufacturer’s flashing kit
Some contractors install ice and water shield on the entire roof deck for the highest-tier waterproof system, but full coverage is generally overkill in this market. Targeted application at vulnerable areas captures 90%+ of the protection benefit at a fraction of the cost.
Granular vs. Smooth Surface Membranes
Ice and water shield comes in two basic surface types: granular and smooth.
Granular ice and water shield has a mineral coating bonded to the top surface, similar to a shingle. The granules make the surface walkable during installation and provide UV resistance if the membrane is left exposed temporarily. Most products in this category can withstand 30 days of exposure without UV degradation.
Smooth (or film-faced) ice and water shield has a thin polyethylene top surface. It is slipperier and more difficult to walk on during installation, and it generally has lower UV exposure tolerance — sometimes as little as 7-14 days. Smooth membranes are most common in valleys and other locations where the shingles will be installed quickly after the membrane is set.
Quality contractors choose surface type based on the location and installation timeline. For most residential installations in our market, granular membrane at eaves and smooth or granular at valleys is the typical specification.
How Ice and Water Shield Pairs With Other Underlayments
Ice and water shield is not a complete underlayment system on its own. It is installed in specific vulnerable areas, and standard underlayment — either felt or synthetic — covers the rest of the deck.
The two products integrate at the transitions: standard underlayment laps over the up-slope edge of the ice and water shield, so water flowing down the underlayment is directed over the membrane rather than under it.
Quality installations typically pair ice and water shield with a high-grade synthetic underlayment across the field. Our breakdown of roof underlayment options covers the comparison between felt and synthetic in detail, and why synthetic has displaced felt across most quality residential roofing in the Tulsa metro.
Ice and Water Shield and Wind-Driven Rain
Oklahoma severe weather is dominated by spring and summer thunderstorms, often with sustained winds of 50-70 mph and gusts well higher. Rain in those conditions is not falling — it is being driven horizontally against the roof, against the eaves, and into every joint and seam.
Under those conditions, standard underlayment can leak. The membrane is mechanically fastened, not bonded; water pushed sideways under shingle edges can travel between the underlayment and the deck. Ice and water shield is bonded, so it has no such failure mode.
The Insurance Institute for Business & Home Safety (IBHS) has published research on wind-driven rain performance of various underlayment systems, and the consistent finding is that fully-adhered membranes outperform mechanically-fastened underlayments in severe weather.
This is the technical basis for the FORTIFIED Home™ Roof standard, which IBHS developed in collaboration with insurance underwriters.
For homeowners interested in FORTIFIED certification, the program requirements are available at fortifiedhome.org. Our guide to preparing your Tulsa roof for storm season covers how ice and water shield fits into the broader storm-readiness picture.
Common Installation Mistakes
Ice and water shield installation is straightforward but unforgiving. The most common errors:
Insufficient deck cleaning — dust, sawdust, or debris on the deck prevents proper bond. The deck must be swept clean before the membrane is set.
Installation in cold weather — most products require deck temperatures above 40-45°F for proper adhesion. Cold-weather installation requires primer or special low-temp formulations.
Reverse lapping at transitions — the up-slope membrane piece must lap over the down-slope piece, not the reverse. This is the cardinal rule of all waterproofing and is violated surprisingly often.
Insufficient coverage — installing only the bare code minimum (24 inches at eaves only) when the actual vulnerable areas extend further. The coverage specification should be in the proposal, not left to the crew.
Leaving membrane exposed too long — most products have UV exposure limits of 30 days or less. Leaving the membrane out longer than that degrades it before the shingles are even installed.
Air bubbles or wrinkles in the bond — these indicate incomplete adhesion. The membrane should lay completely flat with no voids between the membrane and the deck.
Cost of Ice and Water Shield
Ice and water shield is significantly more expensive per square foot than standard underlayment — roughly $0.50 to $1.50 per square foot installed in 2026 prices, versus $0.20 to $0.40 for synthetic underlayment.
On a typical 30-square (3,000 square foot) roof with targeted application at valleys, eaves, and penetrations, the material accounts for perhaps 300-500 square feet of coverage. The total premium for ice and water shield versus standard underlayment alone is usually $200-$800.
Against the cost of repairing one wind-driven rain leak — which can run $2,000-$10,000 between roof repair and interior damage — the upgrade is almost trivially worthwhile. This is one of those line items that, on closer inspection, is essentially free in terms of risk-adjusted cost.
For a full breakdown of how line items shape total project cost, see our roof replacement cost guide for Tulsa.
How to Tell If Your Roof Has Ice and Water Shield
You cannot tell from the exterior whether ice and water shield was installed — it is buried beneath the shingles. The only ways to confirm its presence and extent:
Review your original installation invoice or warranty paperwork — it should specify the membrane brand, type, and coverage areas
Ask the original contractor for the project specification
Lift a shingle at a vulnerable area during inspection (only safe to do during an active replacement)
Inspect from the attic during heavy rain — if you see damp insulation at the eaves or wet sheathing in valleys, ice and water shield is either missing or has failed
Request photos from your contractor during your next installation — most reputable contractors will document underlayment installation as part of their normal project records
The Bottom Line
Ice and water shield is one of the most cost-effective upgrades on a quality residential roof in the Tulsa metro. Despite its name, its value in our climate is less about ice dams and more about wind-driven rain, valley protection, and penetration sealing.
A roof with proper ice and water shield coverage will outperform a comparable roof without it in every storm event, and the cost premium is small relative to the durability gain.
When you evaluate a roofing proposal, look for ice and water shield specifications by brand, type, and location. A proposal that lists it only as a vague line item or omits it entirely is a proposal that may or may not include real waterproofing protection. The difference is real, even if it is buried beneath the shingles you can see.
RainTech installs ice and water shield as a standard part of every residential and commercial roofing project across the Tulsa metro. Reach out through our contact page for an inspection-driven proposal that specifies underlayment coverage in detail.